
Last Updated: November 12, 2026
Quick Summary
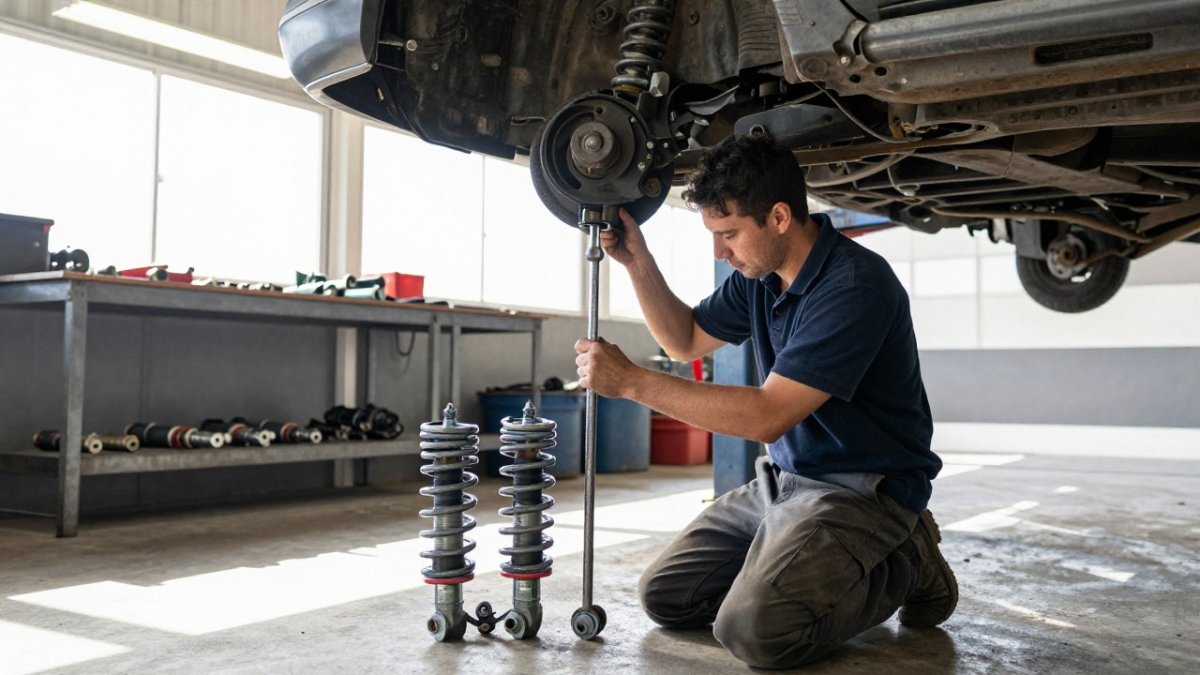
Check 4WD suspension before a remote trip by running a bounce test on each corner, inspecting shocks, springs and bushes for leaks or cracks, and measuring ride height unloaded and again with your full touring load. Book a hoist inspection if you find play, a cracked spring or any unexplained symptom.
- Push down hard on each corner; more than one rebound means tired shock absorbers.
- Rear sag of more than about 25-30 mm with a full touring load means springs are near their limit.
- Less than about 20 mm of rear bump stop clearance means the axle will hit on corrugations.
- A side-to-side difference of more than about 10 mm at one axle suggests a collapsed spring or bent component.
- A driveway check cannot reliably find play in ball joints, tie rod ends or wheel bearings.
Table of Contents
- Why a 4WD Suspension Inspection Checklist Matters Before Remote Travel
- The 4WD Suspension Inspection Checklist: Step-by-Step
- Signs of Worn 4WD Suspension You Should Never Ignore
- How to Check Shock Absorbers for Leaks and Wear
- How to Check 4WD Suspension Under Load
- DIY vs Professional Diagnosis: When to Book a Mechanic
- Corrosion and Bush Degradation in Coastal and Remote Environments
- Pre-Trip vs Post-Trip Suspension Checks: What Changes
- Frequently Asked Questions
Why a 4WD Suspension Inspection Checklist Matters Before Remote Travel
Remote travel punishes weak suspension. Corrugations, washouts and heavy loads expose every worn bush, leaking shock and sagging spring long before help is available.
A worn shock that feels fine on suburban streets can fail by day two of a desert crossing.
A proper 4WD suspension inspection checklist catches these problems at home, where repairs are easy and affordable.
The 4WD Suspension Inspection Checklist: Step-by-Step
This 4WD suspension inspection checklist can be worked through in a driveway with basic tools. Work front to back and note anything that looks or feels wrong.
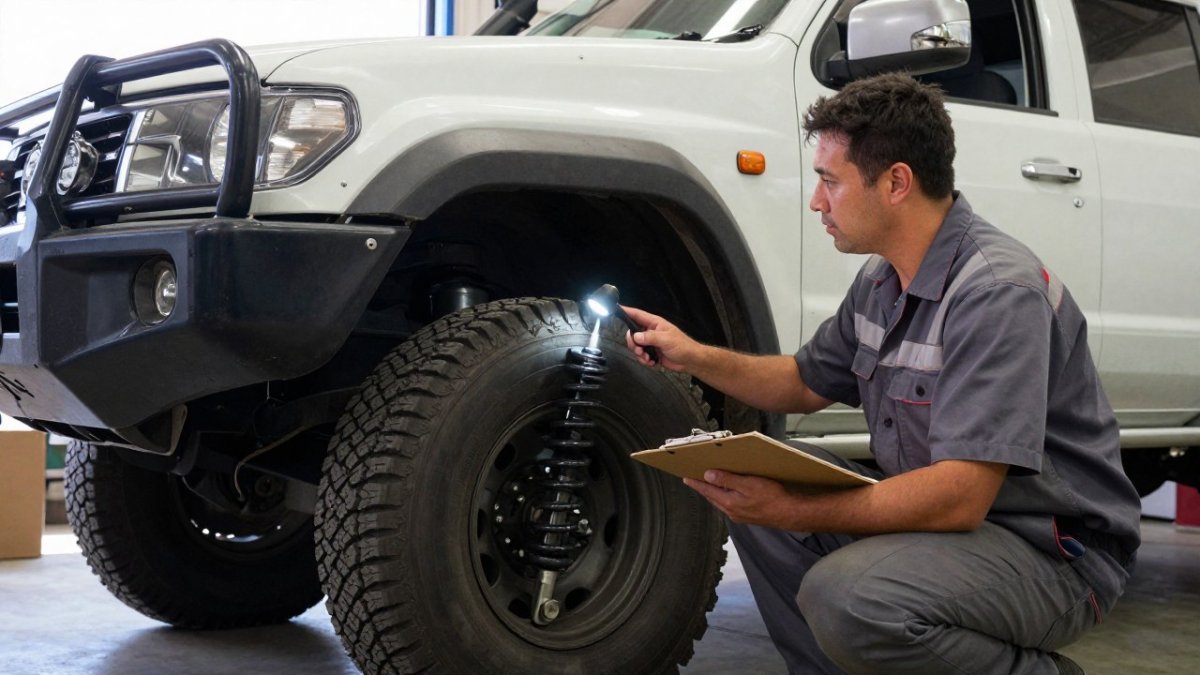
Step 1: Park and Prepare
Park on flat, level ground and let the vehicle settle. Chock the wheels, engage the handbrake and grab a torch, a pry bar and a rag.
Check tyre pressures first. Uneven pressures can mimic suspension faults during a bounce test.
Step 2: Front-End Inspection
Start at the front. Push down hard on each corner and release. The vehicle should rebound once and settle. If it keeps bouncing, the shock absorbers are tired.
Then check:
- Shock absorber bodies for oil leaks and dents
- Coil springs for cracks or collapsed coils
- Bump stops for crumbling rubber
Step 3: Rear-End and Underbody Inspection
Move to the rear and repeat the bounce test. Then get under the vehicle with a torch.
Look at the leaf springs for cracked or flattened leaves. Check the shackles and bushes for slop.
Finally, check the grease points and look for fresh oil around the diff and shocks. A clean, dry underbody is a good sign.
Signs of Worn 4WD Suspension You Should Never Ignore
The clearest signs of worn 4WD suspension are a bouncy ride, uneven tyre wear, sagging corners and new noises over bumps. Any one of these means the suspension needs a proper look before you leave.
Watch for these warning signs: the vehicle keeps bouncing after a bump, one corner sits lower, tyres wear unevenly, the nose dives hard under braking, steering feels vague or wanders at speed, or clunking over speed humps.
If you spot two or more, book a check before your trip, a small wear problem becomes a costly repair on the road. Our team can walk you through common suspension warning signs and the simple home checks you can run first.
How to Check Shock Absorbers for Leaks and Wear
Shock absorbers fail in two ways: they leak oil, or they lose dampening. Both are easy to spot with a torch and a bounce test.
Here is how to check shock absorbers properly:
- Look for oil. A thin film of dust is normal. Wet, dripping oil around the shock body means it is failing.
- Check the body and mounts. Look for dents, bent shafts and cracked rubber bushes.
- Run the bounce test. Push down on each corner. More than one rebound means weak dampening.
- Watch for oscillation. If the body keeps rocking after a bump, the shocks are not controlling spring rebound.
Worn shocks hurt vehicle stability and increase tyre tread wear. Replace them in pairs, never one at a time.
How to Check 4WD Suspension Under Load
Suspension behaves differently when loaded. A vehicle that rides well empty can sag badly with a full touring setup, so check 4WD suspension under load before any remote trip.
Establish an unloaded baseline first
Before you load anything, park on flat, level ground and measure ride height at each corner from the centre of the wheel hub straight up to the underside of the guard, and write the four figures down. Hub-to-guard is more repeatable than ground-to-guard because it removes tyre pressure and tread depth from the result.
Do this on a full tank with the vehicle otherwise empty, giving you a baseline to compare against loaded and post-trip figures for the life of the vehicle.
Load it as you will actually travel
Load the vehicle exactly as you plan to travel: fridge, water, recovery gear, roof rack, drawer system, passengers and tow ball weight if towing. People often check half-loaded and then add 150 kg of water and food at the last minute.
Then re-measure all four corners and compare to the baseline. Note the difference front and rear separately, because the rear does most of the work on a touring 4WD.
Read the numbers
The following rules of thumb are commonly used as a guide:
- Rear sag of more than about 25-30 mm from baseline with a full touring load means the springs are working near their limit.
- Front lift of more than about 15 mm relative to the rear means the load is levering weight off the front axle, reducing steering grip.
- Less than about 20 mm of bump stop clearance at the rear means the axle will contact the bump stops on corrugations, loading chassis and shock mounts beyond design.
Watch out: measuring on a slope, with one tyre on a kerb, or with uneven tyre pressures will give you false sag figures. Repeat any measurement that looks wrong before you act on it.
Check helper springs and air bags specifically
If your vehicle runs air bags or helper springs, the loaded check is different. Inflate them to the pressure you would actually run on tour, not to maximum, then measure. A few practical points:
- Air bags should be checked for minimum pressure. Running them near empty with a load lets the bag chafe and fail.
- Helper springs should sit evenly side to side. If one side carries more load, the spring or its mount is suspect.
- Both should be checked for leaks at the fittings and perished rubber at the ends. Soapy water on the fittings will show a slow leak.
Check how it behaves, not just how it sits
Ride height is only half the story. With the load on, take the vehicle for a short drive on a road you know and check:
- Does the nose dive excessively under braking?
- Does the rear squat and feel light when you accelerate?
- Does it wander or need constant correction at highway speed?
Any of these with a full load points to springs, shocks or both being under-specified for your touring weight. Towing a caravan or trailer makes it worse, because tow ball weight adds a constant lever load well behind the rear axle.
Watch out: driving overloaded on standard springs can bottom out the suspension on corrugations and damage the chassis and shock mounts. If your loaded figures show heavy sag, deal with it before you leave.
DIY vs Professional Diagnosis: When to Book a Mechanic
Some checks are safe to do at home; others need a hoist, a pry bar and a trained eye. Knowing the difference stops you setting off with a fault you could have caught in the driveway.
What a driveway check can genuinely tell you
These checks are safe, useful and within reach of most owners with basic tools:
- Bounce test on all four corners, done properly and repeated.
- Visual inspection for oil leaks, cracked bushes, bent components and rust.
- Tyre pressure and tread depth, including checking for uneven wear patterns across the tread.
These checks catch the majority of wear problems early. They are not a substitute for a hoist inspection, but they are far better than nothing.
What a driveway check cannot reliably detect
This is the part most guides leave out. A visual check from the ground cannot reliably find:
- Play in ball joints, tie rod ends and wheel bearings under load. These only show up when the suspension is unloaded and pried, or when the wheel is rocked with the vehicle raised.
- Cracks in springs and mounts hidden behind dirt, undercoating or the spring seat.
- Shock absorber dampening loss that has not yet produced a visible leak. A shock can be worn internally and still look dry.
A workshop can put the vehicle on a hoist, unload the suspension and check for play that is difficult to feel in a driveway.
A simple decision rule
Use this logic before you book:
- No symptoms, no visible faults, loaded figures within tolerance: your driveway check is enough. Do it again after the trip.
- One symptom, no visible cause: book a hoist inspection before a remote trip. One unexplained clunk or one corner sitting low is worth 45 minutes on a hoist.
- Any play in steering or suspension joints: book. Do not travel on it.
Watch out: a clunk you cannot trace is not automatically a suspension fault. It can come from body mounts, exhaust hangers or a loose accessory. A workshop can isolate it faster than you can by swapping parts.
What to ask for when you book
Ask specifically for a pre-trip suspension and steering inspection, not a general service. A useful inspection includes:
- Hoist check of all ball joints, tie rod ends and wheel bearings for play
- Spring and shock condition, including hidden mounts
- Bush condition on control arms, trailing arms and sway bars
That written list lets you decide what to fix now and what can wait, and gives you a baseline for the post-trip check.
If you want the driveway checks and the hoist inspection handled in one visit, our steering and suspension service covers exactly this kind of pre-trip diagnosis.
Corrosion and Bush Degradation in Coastal and Remote Environments
Salt air and red dust attack suspension parts faster than city driving. Coastal vehicles rust around the chassis and spring hangers. Remote travel dries and cracks rubber bushes.
A cracked bush lets components move out of alignment. That changes suspension geometry and causes uneven tyre wear. If degradation points to replacement, it is worth comparing 4WD suspension upgrade options before you commit.
Pre-Trip vs Post-Trip Suspension Checks: What Changes
Pre-trip checks focus on readiness. Post-trip checks focus on damage. The two lists overlap, but the emphasis shifts.
Before you leave:
- Full bounce test and leak check
- Ride height under load
- Tyre pressures and tread depth
After you return:
- Look for new leaks and dents
- Check for cracked bushes after heat and dust
- Re-check ride height for sag
Remote area travel stresses parts in ways city driving never does. If you want both checks handled in one visit, our 4WD servicing covers pre- and post-trip inspection needs.
| Check | When | Time | Frequency |
|---|---|---|---|
| Bounce test | Pre-trip | 5 min | Every trip |
| Leak and bush inspection | Pre-trip | 15 min | Every trip |
| Ride height under load | Pre-trip | 10 min | Every trip |
| Post-trip damage check | After return | 20 min | Every trip |
| Full hoist inspection | Pre and post | 45 min | Annually or after big trips |
Time
Remote trips expose weak suspension fast, and a failure out there is expensive and dangerous.
Frequently Asked Questions
How do I check my 4WD suspension before a trip?
Start with a bounce test on each corner: push down firmly on the bull bar or rear bar and release. The vehicle should settle within one or two rebounds; continued oscillation points to worn shock absorbers. Then inspect under the vehicle for oil leaks on shock bodies, cracked or collapsed bushes, and sagging leaf or coil springs. Check tyre tread wear for cupping or uneven patterns, and measure ride height from hub to guard on level ground. Record the figures so you can compare them after loading.
What are the signs of worn 4WD suspension?
Common signs of worn 4WD suspension include nose dive under braking, excessive body roll in corners, vague steering feedback, clunking noises over bumps, uneven tyre tread wear and a ride height that sits lower on one side. Oil weeping from shock absorbers, flattened bump stops and cracked sway bar links are also red flags. If you notice two or more of these before a remote trip, have the suspension inspected by a qualified mechanic rather than risking a breakdown on unsealed roads.
Should I check my suspension after off-road driving?
Yes. Off-road stress from corrugations, rocks and heavy loads can loosen bolts, damage bushes and bend components in ways that are not obvious on smooth bitumen. A post-trip check should include washing off mud and salt, inspecting the underbody for dents or leaks, checking shock absorber bodies for fresh oil, and re-torquing suspension fasteners to the manufacturer’s specification. Catching damage early prevents a small issue from becoming a costly repair before your next remote trip.
How do I know if my 4WD suspension is overloaded?
Compare your loaded vehicle weight against the manufacturer’s gross vehicle mass (GVM) and axle limits, which are listed on the compliance plate. If the rear ride height drops significantly when loaded, the vehicle sits nose-up, or the bump stops are contacting the axle, you are likely over the limit. Overloading accelerates wear on springs, shocks and bushes and affects vehicle stability. A weighbridge check before a remote trip is one way to confirm you are within legal and safe limits.


